

Create and check the invoice
- Open Accounting, select Payables, then Create Invoice.
- Select the case and the correct vendor contact. Verify the vendor belongs to the organization you are working in.
- Complete Invoice Type, including the invoice number and payment terms.
- In Line Items, select the appropriate existing expense or enter a new expense with its description, type, and amount. Funding can remain undecided for accounting to complete.
- Complete Document & Status, then review Review & Confirm.
- Select Create Invoice and check that the invoice and its line items appear in the lists.
Review a staging approval
If your workflow requests review, the designated reviewer opens the request in Approvals.- Check the invoice number, vendor, total, document, and unpaid expenses.
- Review the default and per-item funding choices. Keep undecided until payment leaves that choice unresolved for later payment work.
- When the invoice is ready under your firm’s process, select Approve & stage for payment.
- Check History for the reviewed decision and Payables for To Be Paid.
- For a workflow-driven review, check the matching run’s status and the resulting expense or cost list.
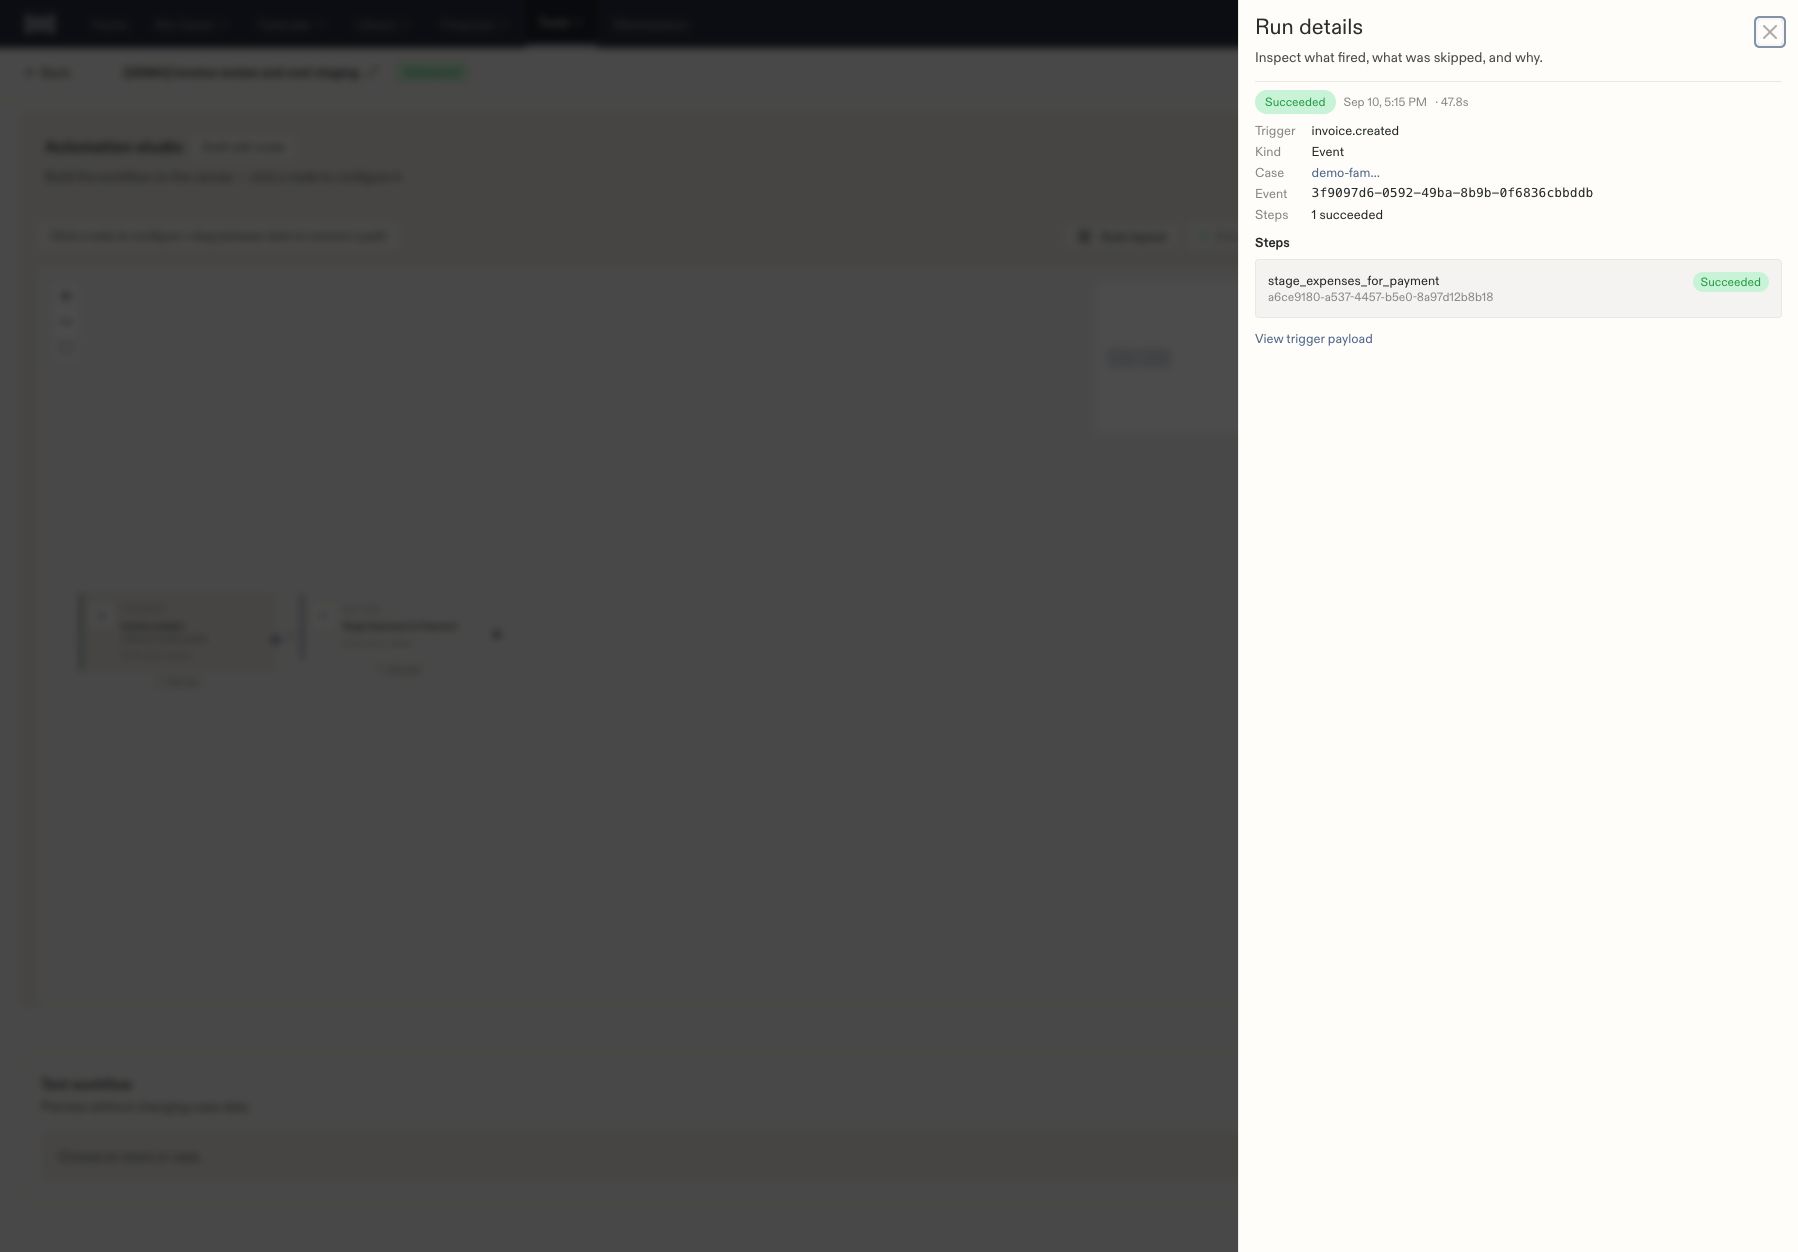
A successful run confirms the staging action executed. Check the invoice record as well.
When review cannot proceed
If the workflow cannot find an eligible reviewer, have your administrator check both the reviewer’s approval permission and their access to the case. A job title alone does not establish case access. If creation reports a vendor-contact error, verify or select the correct organization contact before trying again. Check the invoice list for an existing record before resubmitting. Next: Follow the cost through payment and recovery.Choose the invoice direction and timing
The inbound wizard explains that added expenses are reimbursable and included in settlement accounting. Review the saved expense’s settings as part of checking the invoice.
Choose the line items
In Line Items, inspect the available sources before adding a charge:- Existing Expenses: select an expense already recorded for the matter. Check the description and amount to avoid entering the same charge again.
- Add New: enter an expense description, category, amount, date, Paid By, and any notes; select Add to Invoice.
- Custom: review custom lines included in the draft. A newly added expense can appear with a New label and increase the Custom count.
Review the source document and status
Document & Status includes an optional source file, a description, and invoice status. Choices include Draft, Sent, Paid, Partial, and Overdue. Select the state that accurately describes the invoice under your firm’s process. Approval is a separate workflow decision. Selecting an invoice status does not substitute for a required review. Likewise, a status label should be checked against payment records before treating a vendor as paid. In Review & Confirm, compare the case, vendor, invoice number, dates, line items, total, and source-document presence. Correct a discrepancy before creating the invoice.Follow the invoice across pages
The staging approval changes the invoice to To Be Paid and applies the selected funding to unpaid expenses. It does not mark those expenses paid. Continue through payment and recovery for the next part of the process.