Open Settings → Contact Roles. These roles describe how a person or organization relates to a case. They are separate from staff access permissions.

Define the relationship

  1. Select Add Contact Role.
  2. Enter a Role name that identifies the relationship, such as a local referring attorney.
  3. Choose One contact or Multiple contacts under Contacts allowed per case.
  4. Select Add Role and verify that the role appears in the list.
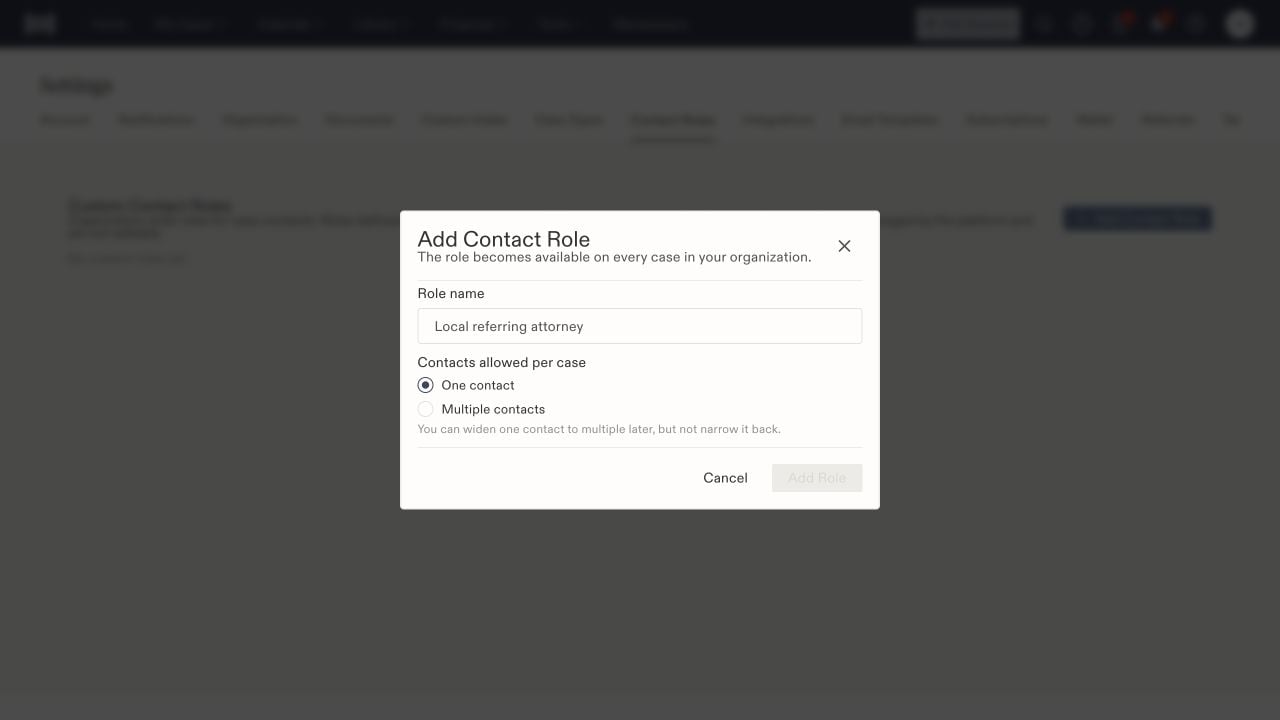
Add Contact Role dialog with role name and one-contact or multiple-contact choices.

A custom role can allow one contact or multiple contacts on each case.

The role becomes available across your organization’s cases. The form explains that you can widen a one-contact role to multiple contacts later, but cannot narrow it back. Choose the relationship’s intended scope before saving.

Understand managed roles

Built-in roles are managed by the platform and cannot be edited here. Roles supplied by a parent firm can be available to your organization while remaining managed by that parent. Check where a role is managed before creating a similarly named replacement.

Use the role on a matter

Open the matter’s Associated Parties area and choose Add Contact Role. Select the role first, then search for the intended contact or use the contact-creation option. Review the identity and relationship notes before linking it. After saving, confirm the contact appears on the intended case with the correct role. Linking a contact does not grant that person a staff login or change employee permissions. For those controls, use organization access roles.