

Apply an existing tag
- Select the tag icon and count near the case name. This is separate from the flag control.
- In Manage Case Tags, select the tag under Available Tags.
- Select Save Tags.
- Reopen the picker to confirm the tag remains selected. The header count reflects the case’s assigned tags.
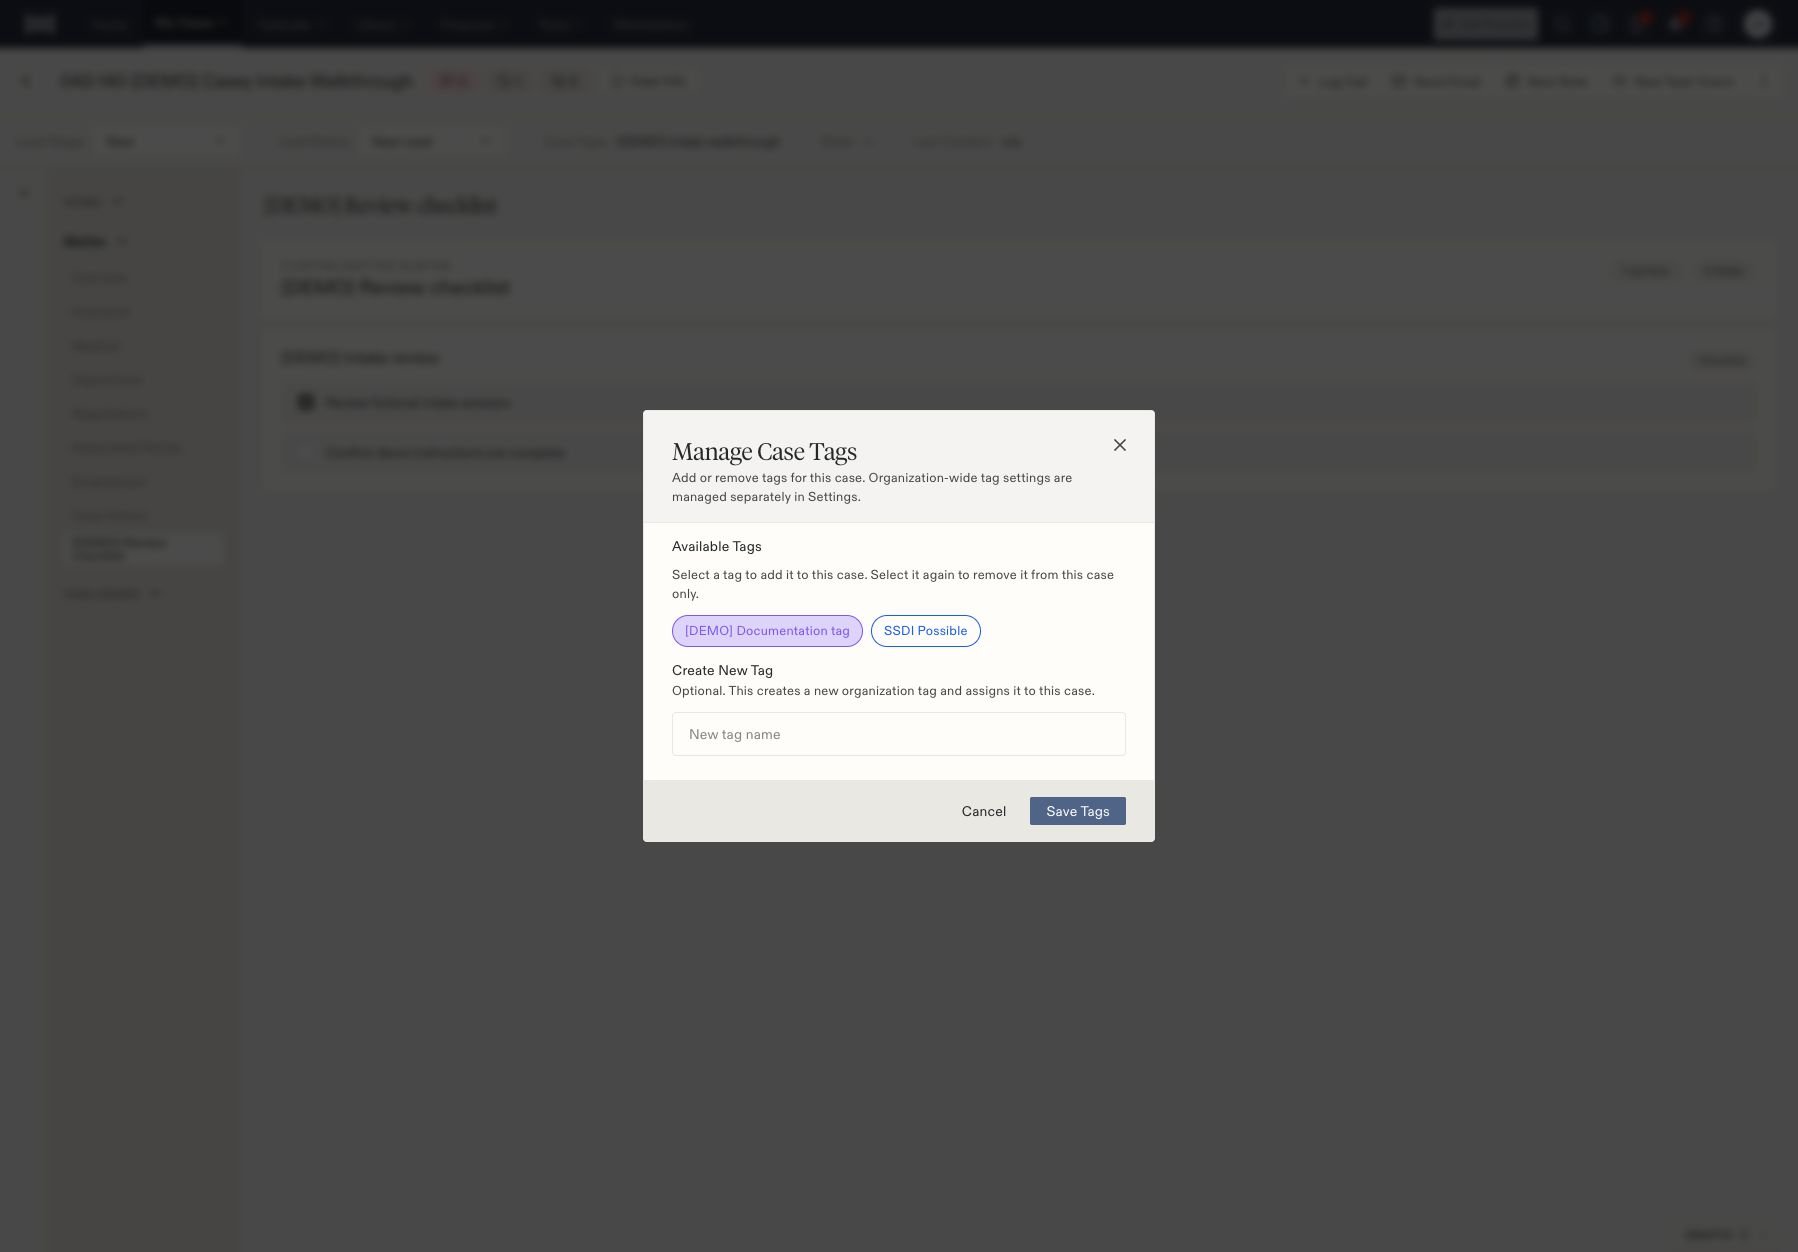
A selected case tag in the Manage Case Tags dialog.
Remove a tag from this case
Open the same picker, select the assigned tag again to clear it, and select Save Tags. This removes the assignment from the current case. Organization-wide tag settings are managed separately in Settings.Create a label when needed
The picker also has Create New Tag. Entering a name and saving creates an organization tag and assigns it to this case. Check your firm’s naming conventions before creating a new label.Your firm may configure automatic actions for particular tags. Check with your administrator before applying a tag whose purpose you do not recognize. The saved tag selection confirms the label; check any resulting record separately.