Select the Help icon in the top navigation, then Submit Support Ticket. The Help menu also shows the current phone and email support contacts.

Prepare the request

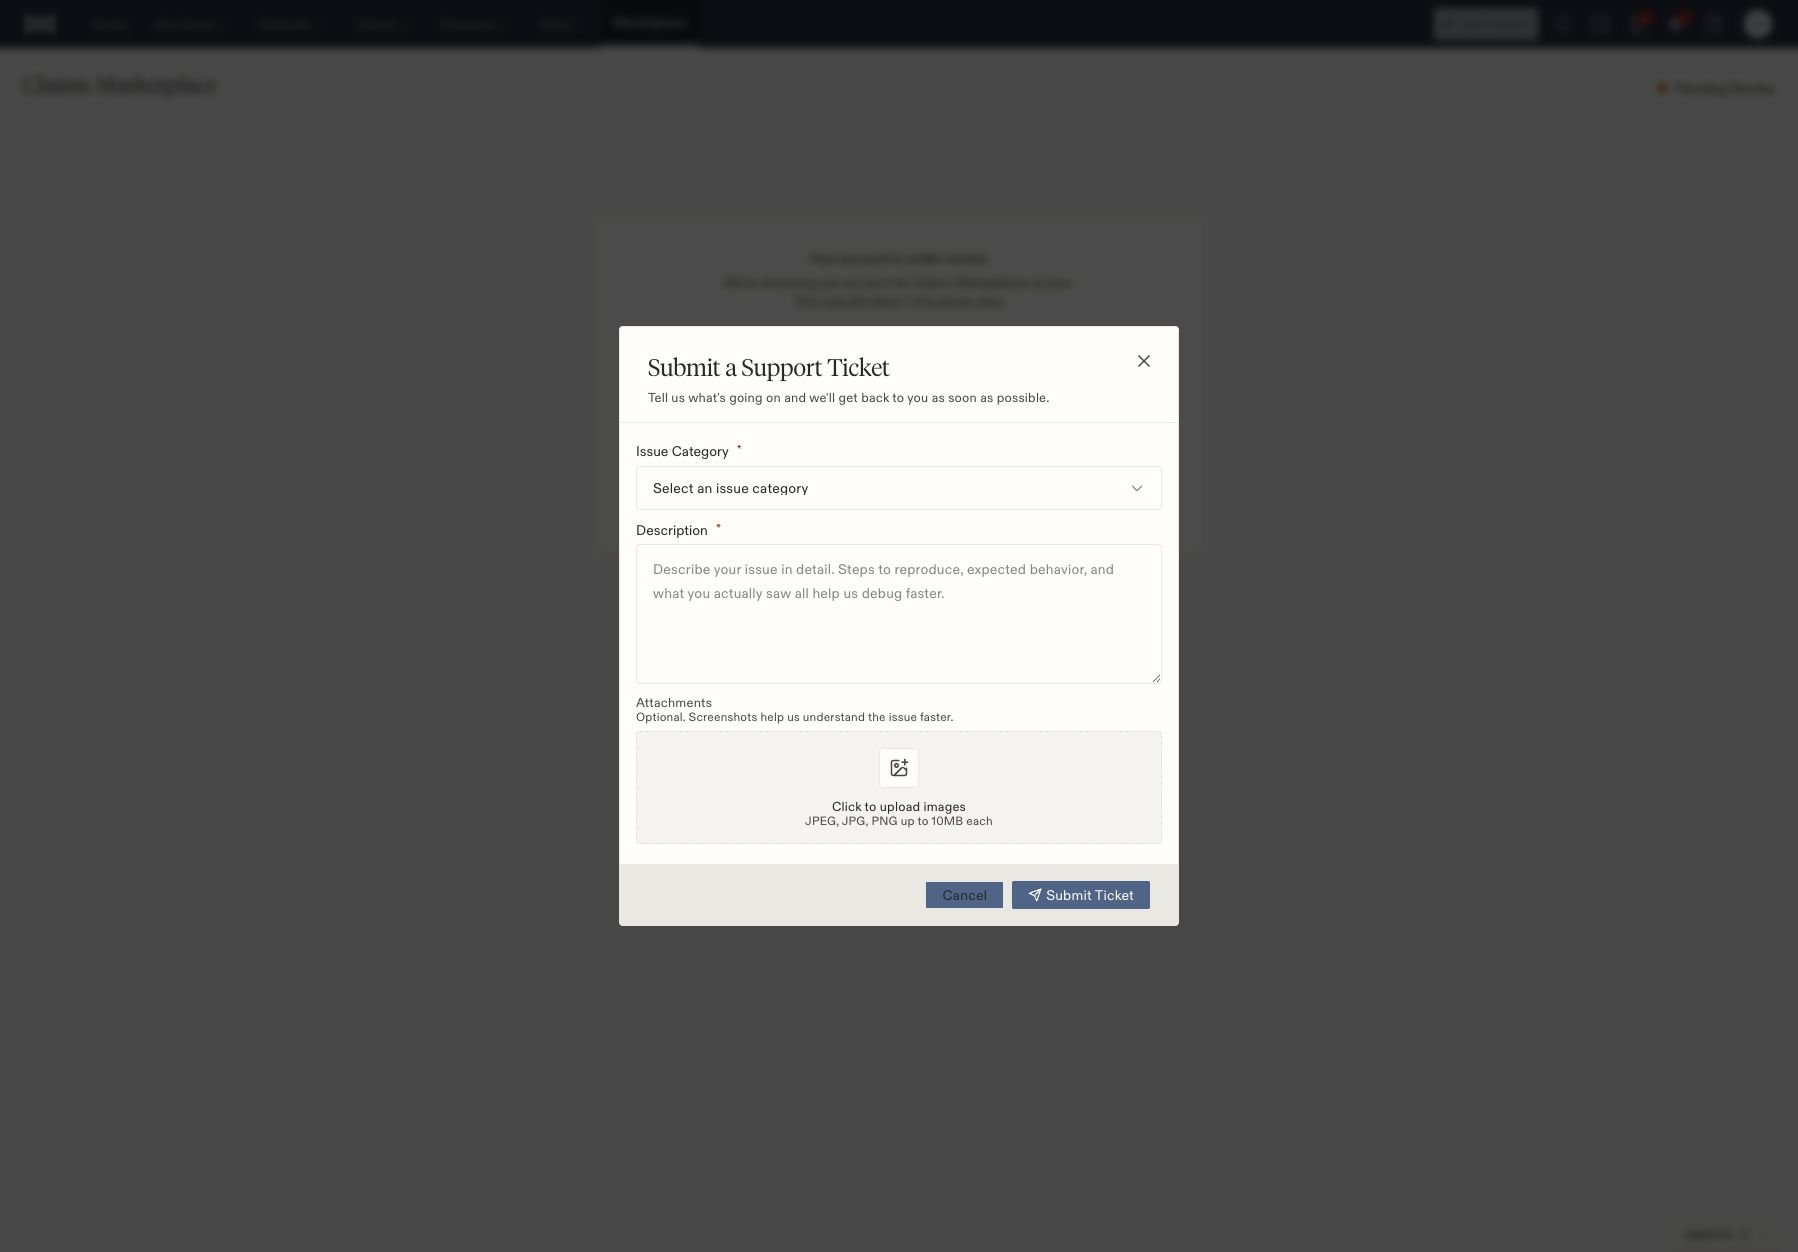
  1. Choose the required Issue Category.
  2. In Description, identify the page and action, what you expected, and what happened instead.
  3. Include the relevant case number and approximate time when needed to locate the event.
  4. Optionally attach screenshots. The form accepts JPEG, JPG, and PNG images up to 10 MB each.
  5. Review the information before selecting Submit Ticket.
Support form with required category and description, optional image attachments, and Submit Ticket.

Support form with required category and description, optional image attachments, and Submit Ticket.

Useful categories include technical issues, case management, account access, billing/payments, Marketplace, feature requests, and general inquiries. Choose the closest match rather than changing unrelated settings to test a theory. For example: β€œIn Tasks, I selected Completed and searched for the task title. The task did not appear. It was assigned to me on case [case number].” Include the current filters so support can distinguish a hidden row from a missing record. If an action reported an error after submission, check whether the record already exists before trying it again. This is especially important for invoices, messages, and workflows that may have effects beyond the current page. Related: Task filters, report filters, and integration checks.